/
Foley - Moves and Pats
Foley - Moves and Pats
Before You BeginFoley, as all other Audio-Post, is done when the project has reached final cut.The first step is an Audio Spotting Session. Using the Sound Effect & Foley Spotting Sheet sit with the rest of the crew, watch the project final cut, and 'spot' where, and what kind of, SFX and/or Foley will be required.Next, gather and prep all your props for the required effects.Then, prep your recording space (foley studio) and your recording equipment.Do a 'Moves' pass first, then a 'Pats' pass. This will provide a good opportunity to get to know the material, get a feel for the flow and action, before you do the 'Feet' and 'Specifics' passes.... and, before you jump to it, here are a few other tips:
|
Moves and Pats | |
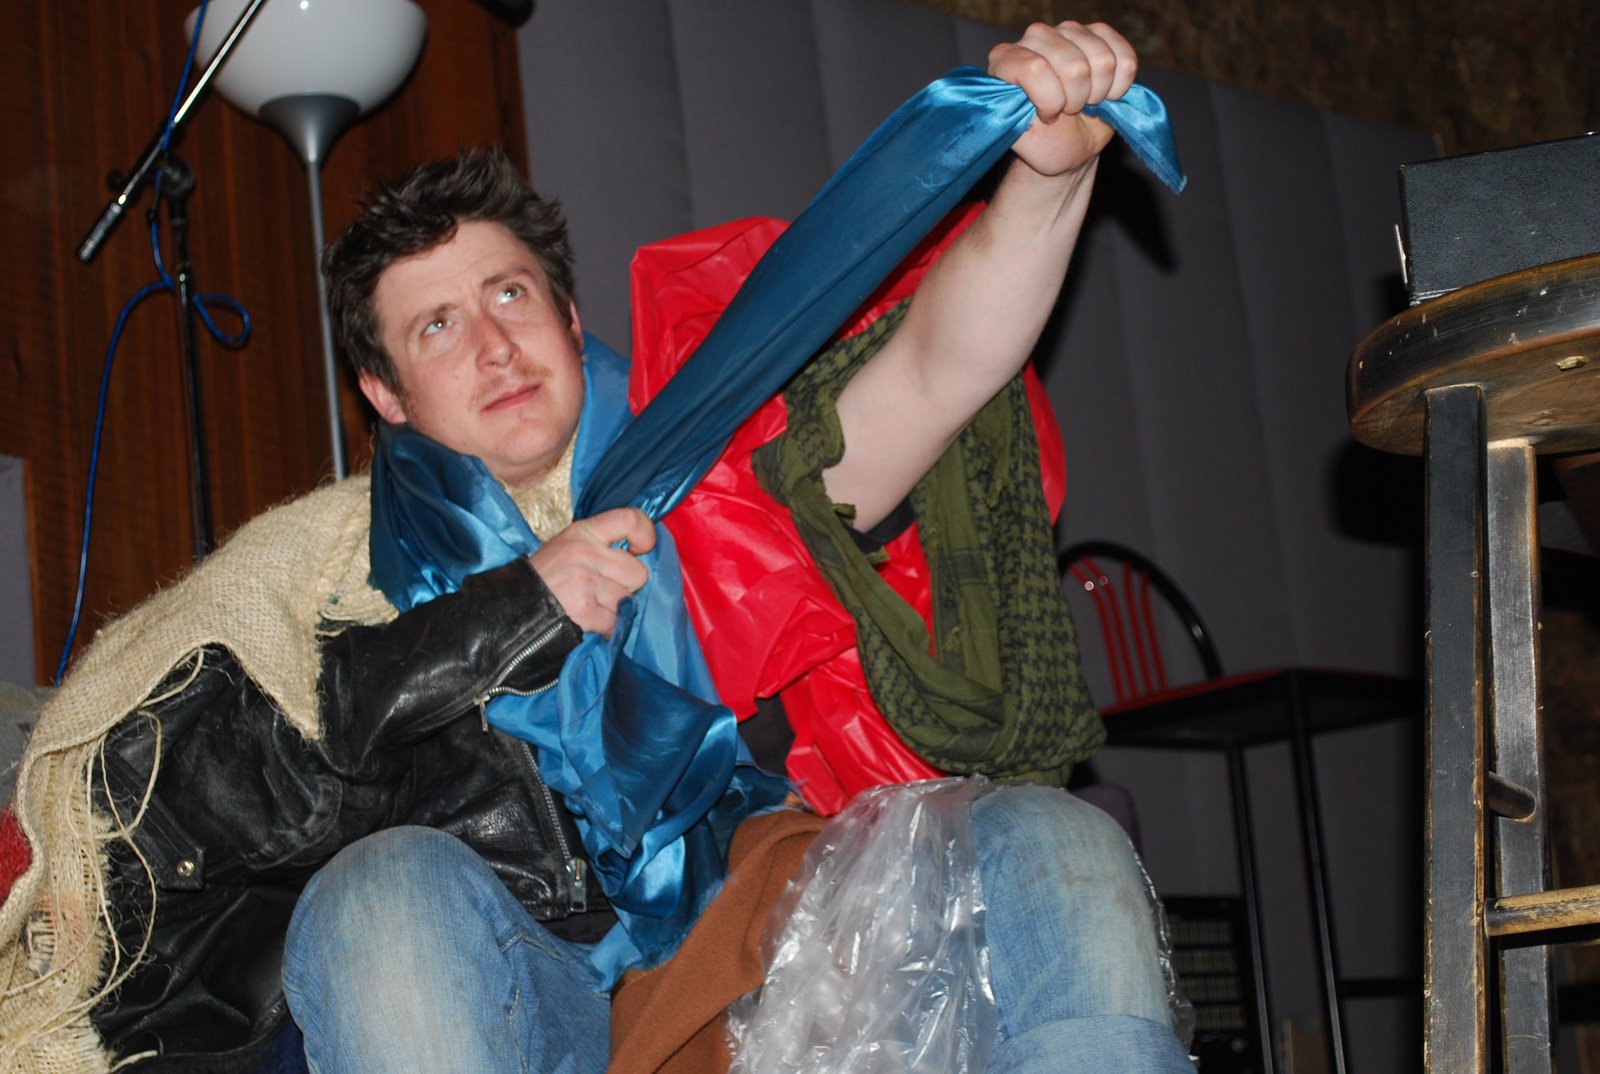
What is itThe Moves Track is a layer of sound that recreates the clothing rustle of actors as they walk, run and move. While incredibly subtle, the moves track serves to fill in the gaps in the sound when the picture is cut or ADR is used.People tend to scratch, pat and touch themselves and each other - the Moves track covers these 'Pats' too. | |
RecordingMoves are recorded on a single track throughout the entire reel, moves are usually put on Track 1 or 2.Set your recording level, push record and let the Foley Artist do all the work.The microphone should be placed about one meter in front of the Foley Artist who is seated (some artists prefer to stand).Having a quiet room is essential - even the faintest background noises will be picked up when you are recording a handshake.If you have to 'punch into the track' (the artist missed an action) then pick up at a cut or scene change to continue recording or you will notice the abrupt change in movement.You might need to 'ride the recording level' as characters enter or exit a scene, but be gentle and let the Foley Artist work the fade as you do. | |
PerformingThe only props you need are pieces of material - denim, cotton, leather etc. The material you choose will depend on what the characters are wearing.Sit in a comfortable chair that doesn't make any sound - it shouldn’t creak!Hold the material loosely in your hands and rub it against your body simulating the motion of arm and leg movements as characters walk and interact.Watch the screen and move as the actors move. The idea is to capture all action on the screen in one fluid motion from cut to cut and scene to scene.Moves should be played with a soft staccato feel and not end up all swishy sounding and without distinction.If the actors touch each other (pats, handshakes and slaps) then you may try to get this on the moves track; some artists prefer to leave touches for the Specifics Track where there is more control over each event - remember we are creating a general movement track here not a single event. | |
End ResultThe Moves Track sounds like a smooth but distinct white noise that allows the mixer a base coat of sound. It allows the artist to create a 'sound design' for the characters (leather or lace) and sets the overall tone of the Foley Track.It also gives the Foley Artist a chance to really feel the film (until you have sat down and moved through the film, you can't really know it), which helps later on when you perform the footsteps. | |
Next we'll look at the final foley element - Specifics | |
Additional ResourcesArticles
VideosFoley
Sound Design
| |
Need Help? | |
Related Articles
|
Related content
Foley - Specifics
Foley - Specifics
More like this
Foley - Feet
Foley - Feet
More like this
What is Foley?
What is Foley?
More like this
The Three Elements of Foley
The Three Elements of Foley
More like this
Audio - The Art of Foley
Audio - The Art of Foley
More like this
External Resources
External Resources
More like this
